
If your car has a rough idle, a misfire, hard starting, or weak power, the ignition coil may be worth checking. The good news is that many coil tests need only a basic digital multimeter. The key is knowing which terminals to test and what resistance range your vehicle maker specifies.
This guide explains how to test spark plug coil with multimeter in a safe, simple way. It also explains why a good resistance reading does not always prove that a coil works under real engine conditions. Coil design varies by vehicle, so the service manual remains the final guide for test points and specifications.
What Is an Ignition Coil?
An ignition coil is part of the engine’s ignition system. It changes low battery or charging-system voltage into the much higher voltage needed to create a spark at the spark plug. On some engines, one coil serves several cylinders. On many modern engines, each cylinder has its own coil-on-plug unit.
People often call this part a spark plug coil because it works directly with the spark plug. The usual term is ignition coil. Understanding the coil’s terminals helps you test it without putting the meter in the wrong place.
- ✦ Primary circuit
The primary winding receives a low-voltage electrical signal from the vehicle’s ignition control system.
- ✦ Secondary circuit
The secondary winding produces the high voltage that travels to the spark plug through the coil design used by the vehicle.
- ✦ Coil-on-plug design
A coil-on-plug unit sits over or near one spark plug and often has a small electrical connector.
When Should You Test an Ignition Coil?
A coil test makes sense when an engine shows symptoms of an ignition problem. A misfire does not prove that the coil is bad, because a worn spark plug, damaged wiring, poor fuel delivery, or another fault can cause similar symptoms. Testing helps narrow the cause.
Before testing, scan the vehicle for diagnostic trouble codes if you have an OBD-II scanner. A cylinder-specific misfire code can tell you where to focus, but it still does not prove that the coil itself has failed.
- ✦ Engine misfire
The engine may shake, stumble, or run unevenly, especially during acceleration.
- ✦ Hard starting
A weak or missing spark can make an engine crank for longer before it starts.
- ✦ Poor acceleration
A failed coil can stop one cylinder from making normal power.
- ✦ Check engine light
An ignition fault may set a misfire-related diagnostic trouble code.
- ✦ Visible coil damage
Cracks, melted plastic, corrosion, or damaged boots can point to a coil or ignition problem.
Tools and Safety Steps You Need
For a basic resistance test, you need a digital multimeter and access to the ignition coil terminals. You may also need the vehicle service manual because resistance specifications differ by coil design. A small socket or trim tool may help you remove the coil without damaging nearby parts.
Work with the engine off and the ignition switched off unless the service procedure says otherwise. Never use a resistance or continuity setting on a powered circuit. High-voltage ignition systems can also produce dangerous voltage, so do not touch coil outputs or spark plug wires while the engine is running.

- ✦ Digital multimeter
Use a meter that can measure resistance in ohms and has clean, undamaged test leads.
- ✦ Vehicle specifications
Use the correct primary and secondary resistance values for your exact year, engine, and coil.
- ✦ Eye protection
Wear safety glasses when working around engine parts and electrical connections.
- ✦ Cool engine
Let hot parts cool before handling the coil or nearby components.
- ✦ Safe work area
Park on a stable surface, set the parking brake, and keep loose clothing away from moving parts.
How to Test Spark Plug Coil With Multimeter
The basic method is simple: remove the coil from the circuit, set the multimeter to resistance, and measure the correct terminals. However, do not guess the terminals. Coil packs, coil-on-plug units, and older distributor-style coils can use different designs.
The most important rule in learning how to test spark plug coil with multimeter is to compare your measurement with the factory specification. There is no single resistance number that works for every ignition coil.
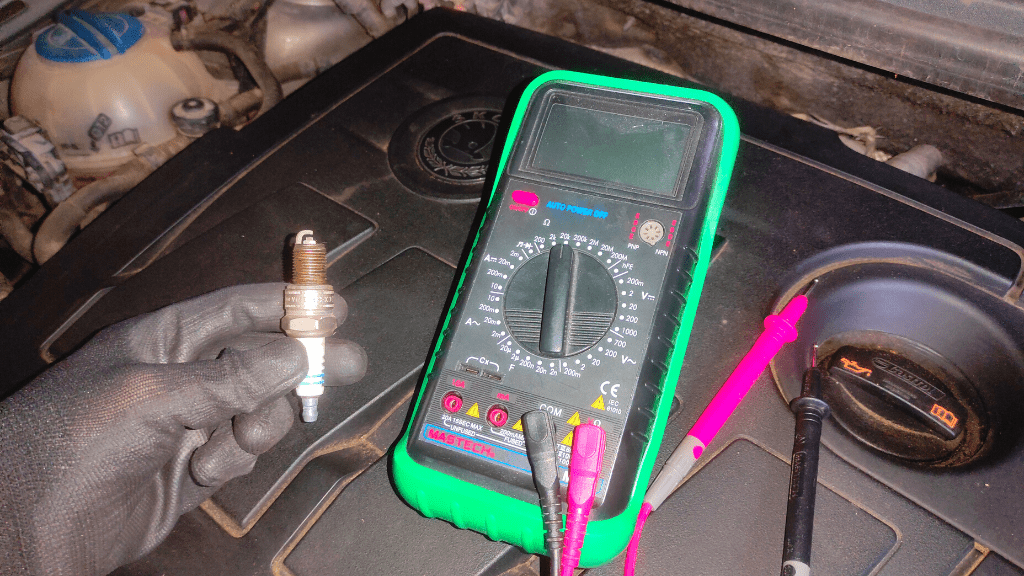
- ✦ Step 1: Switch the vehicle off
Turn the ignition off and make sure the engine is not running. Allow hot components to cool.
- ✦ Step 2: Locate the coil
Find the ignition coil or coil pack. On a coil-on-plug engine, the coil often sits directly above the spark plug.
- ✦ Step 3: Disconnect the electrical connector
Release the connector carefully. Do not pull hard on the wires.
- ✦ Step 4: Set the multimeter
Set the meter to the ohms symbol, usually shown as Ω. Select a suitable range if the meter does not choose the range automatically.
- ✦ Step 5: Test the primary circuit
Touch the meter probes to the correct primary terminals identified by the service information. Record the resistance.
- ✦ Step 6: Test the secondary circuit
If the coil design provides accessible secondary terminals, test the specified points. Some modern coils do not provide a useful secondary resistance test.
- ✦ Step 7: Compare the readings
Compare each measurement with the manufacturer’s specified range. A reading outside the stated range may indicate a faulty winding.
How to Test the Primary Coil Winding
The primary winding uses the low-voltage side of the coil. Put one probe on each specified primary terminal. The meter should show a resistance value if the winding has a measurable circuit.
A reading of OL or infinite resistance can indicate an open winding when the test procedure calls for a resistance measurement. A value much lower than the factory range may point to a shorted winding. Always verify the expected range before making that call.
- ✦ Use the correct terminals
Do not assume terminal positions from another vehicle. Check the wiring diagram or service manual.
- ✦ Record the reading
Write down the result so you can compare it with the published specification or another matching coil.
How to Test the Secondary Coil Winding
Older and some conventional coils allow a secondary resistance check between the high-voltage terminal and a specified primary terminal. The exact test points depend on the coil design. Modern coil-on-plug units may not expose a secondary circuit in a way that supports a simple resistance test.
If your service information does not give a secondary resistance test, do not invent one. Use the diagnostic procedure for that specific coil. This is one of the most important limits of a general guide about how to test spark plug coil with multimeter.
- ✦ Follow the wiring diagram
Use the manufacturer’s diagram to identify the correct high-voltage and low-voltage test points.
- ✦ Do not touch high voltage
Never handle an ignition coil’s high-voltage output while the ignition system is active.
What Multimeter Readings Mean
The meter reading only has meaning when you know what your coil should measure. Some ignition coils use very low primary resistance, while others have different internal designs. The same number can be normal for one coil and wrong for another.
When you learn how to test spark plug coil with multimeter, focus on whether the measured value matches the vehicle’s published specification. Avoid online charts that give one universal value for every car.
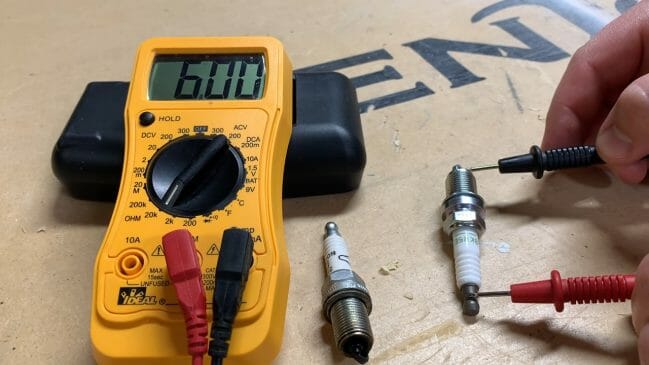
- ✦ Within specification
A resistance value inside the manufacturer’s stated range means the winding passes that particular resistance check.
- ✦ OL or infinite resistance
This may indicate an open circuit if the tested winding should have measurable resistance.
- ✦ Very low resistance
A reading below the specified range may suggest a shorted winding, but meter lead resistance and test method must also be considered.
- ✦ Unstable reading
An unstable result can come from poor probe contact, dirty terminals, damaged connectors, or a meter issue.
Check the Meter Before Testing
Touch the two meter probes together before a low-resistance test. The meter should show a value close to zero, although some meters display a small amount of lead resistance. This matters when the expected coil resistance is very low.
Clean probe tips and firm contact also help. If the reading changes when you move a probe, check the connection before blaming the coil.
- ✦ Zero or near zero
This usually shows that the probes are making contact, with a small lead resistance possible.
- ✦ OL with probes apart
This is normally expected when the meter is measuring an open circuit between the probes.
Why a Good Resistance Reading Does Not Always Prove the Coil Is Good
This is a key point. A coil can show a normal resistance value and still fail when it must create a spark under real engine conditions. Heat, vibration, insulation breakdown, and high-voltage leakage may not appear during a simple ohms test.
That is why professional diagnosis does not rely on one measurement alone. If the coil passes resistance checks but the cylinder still misfires, continue with the vehicle maker’s diagnostic steps.
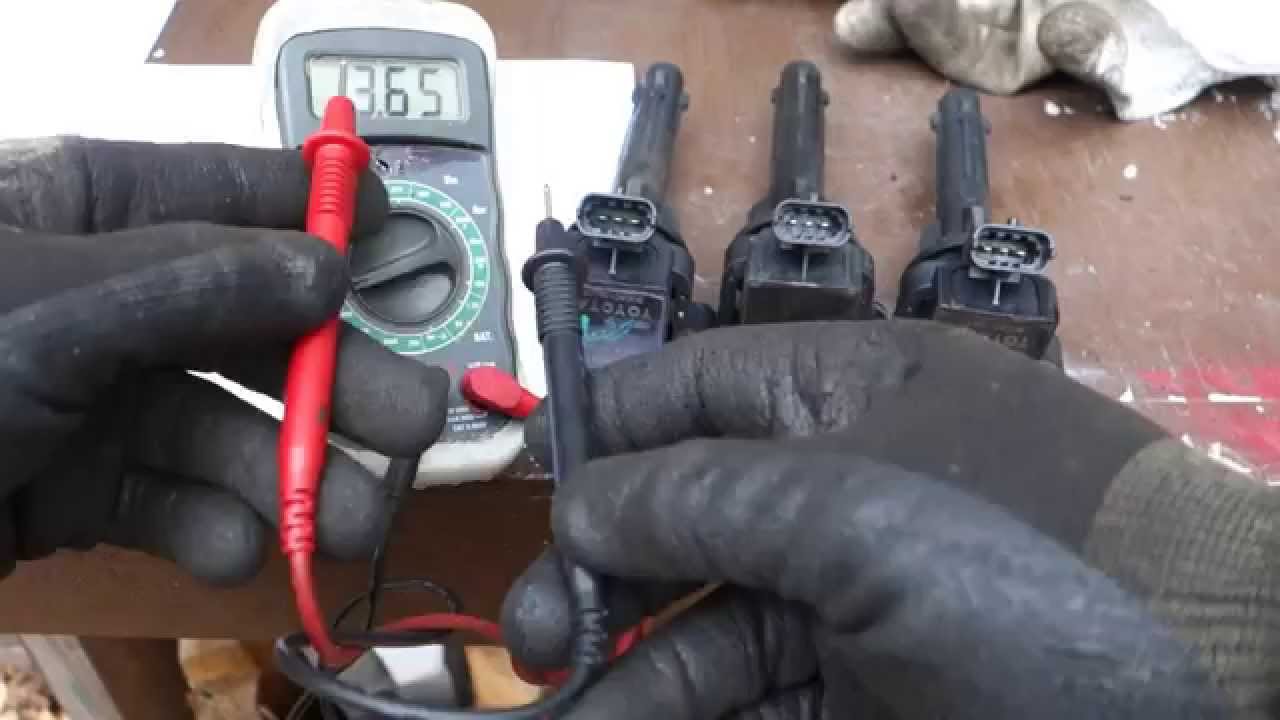
- ✦ Heat-related failure
Some electrical faults appear only after the coil becomes hot.
- ✦ High-voltage insulation failure
A coil may leak high voltage through damaged insulation even when winding resistance looks normal.
- ✦ Electronic control faults
The coil may be healthy while its power supply, ground, control signal, or wiring has a fault.
- ✦ Spark plug problems
A worn, fouled, cracked, or incorrectly gapped plug can cause symptoms that look like a coil failure.
Use a Cylinder Swap Test When Appropriate
On some vehicles with individual coil-on-plug units, a technician may move a suspected coil to another cylinder and see whether the misfire follows it. This can be a useful diagnostic step when the vehicle maker allows it.
For example, if the misfire starts on a different cylinder after a coil is moved, the coil becomes a stronger suspect. This test does not replace the manufacturer’s procedure, and some vehicles have coil designs that make swapping unsuitable.
- ✦ Record the original cylinder
Note which cylinder showed the fault before moving any parts.
- ✦ Change one item at a time
Moving only the suspected coil makes the result easier to understand.
Common Mistakes When Testing an Ignition Coil
Many bad test results come from using the right meter in the wrong way. A coil is a small electrical part, but its test method depends heavily on its design. Taking a few minutes to identify the exact coil can prevent a wrong diagnosis.
These mistakes are especially common when someone searches for how to test spark plug coil with multimeter and applies a generic resistance chart to a different vehicle.

- ✦ Using a universal resistance number
There is no single resistance specification that fits every ignition coil.
- ✦ Testing a powered circuit in ohms mode
Resistance mode is intended for an unpowered circuit. Applying it to a powered circuit can damage the meter and create a safety risk.
- ✦ Testing the wrong terminals
Modern coils can have several terminals for power, ground, and control signals. Use the correct diagram.
- ✦ Ignoring meter lead resistance
Lead resistance can affect very low resistance measurements.
- ✦ Replacing the coil too soon
A misfire can come from the plug, injector, wiring, compression, air leaks, or engine control system.
- ✦ Assuming a passing test proves the coil is perfect
Resistance testing checks a limited part of coil operation and cannot reproduce every condition inside a running engine.
How to Diagnose a Coil That Passes the Multimeter Test
If the resistance looks normal but the engine still misfires, widen the diagnosis. Check the spark plug, coil connector, wiring, power supply, ground, and control signal as appropriate for the vehicle. A scan tool can also help identify whether the problem stays on one cylinder.
It can also help to inspect the coil boot for oil, moisture, carbon tracking, or cracks. These issues can allow the spark to escape before it reaches the plug. On older ignition systems, inspect the plug wires and distributor parts when those components are present.

- ✦ Inspect the spark plug
Look for wear, fouling, cracking, or an incorrect gap.
- ✦ Inspect the coil boot
Look for oil, moisture, cracks, or dark tracking marks.
- ✦ Inspect connectors
Check for loose pins, corrosion, broken locks, or damaged wires.
- ✦ Check power and ground
Use the vehicle’s wiring diagram and test procedure to confirm that the coil receives the required electrical supply.
- ✦ Check for other causes
Consider fuel delivery, compression, air leaks, engine timing, and control-system faults when ignition parts test normally.
Spark Plug Versus Ignition Coil: What Are You Testing?
The spark plug and ignition coil are different parts, even though they work together. The coil creates the high voltage. The spark plug uses that voltage to create the spark inside the engine cylinder.
A multimeter can test some electrical properties of a spark plug, but that does not replace a proper ignition coil test. If your engine has a misfire, identify which part you are testing before taking a reading.
- ✦ Ignition coil
Creates the high voltage needed for ignition.
- ✦ Spark plug
Uses high voltage to create a spark across its electrode gap.
- ✦ Coil connector
Carries power, ground, and control signals according to the vehicle’s design.
- ✦ Plug wire
On systems that use wires, it carries high voltage from the ignition coil or distributor to the spark plug.
How to Test Spark Plug Coil With Multimeter on Different Coil Designs
The basic idea stays the same, but the test points change with the coil design. A traditional single coil may have clear primary and secondary terminals. A coil pack may serve several cylinders, while a modern coil-on-plug unit may contain electronics that make a simple resistance test less useful.
For that reason, how to test spark plug coil with multimeter is not a one-size-fits-all process. Find the service information for the exact vehicle before probing the terminals.
- ✦ Conventional ignition coil
Often has separate low-voltage primary terminals and a high-voltage output terminal.
- ✦ Coil pack
May contain more than one ignition coil and may have multiple high-voltage outputs.
- ✦ Coil-on-plug
Usually mounts near the spark plug and has a low-voltage electrical connector.
- ✦ Smart coil
May contain an internal driver circuit, so resistance checks alone may not give a useful diagnosis.
Why Vehicle-Specific Information Matters
Manufacturers may specify different test points, resistance ranges, or diagnostic methods. Some systems also require voltage, waveform, or control-signal checks instead of a simple ohms test.
Use the exact year, engine, and ignition system when looking up specifications. This prevents you from rejecting a good coil because you used a number meant for another model.
- ✦ Match the engine
Two vehicles with the same model name can use different engines and ignition systems.
- ✦ Match the coil
Replacement coils can have different internal designs, so use the test data for the installed part.